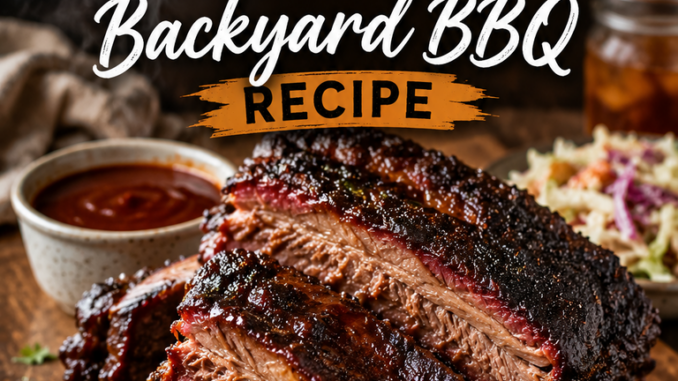
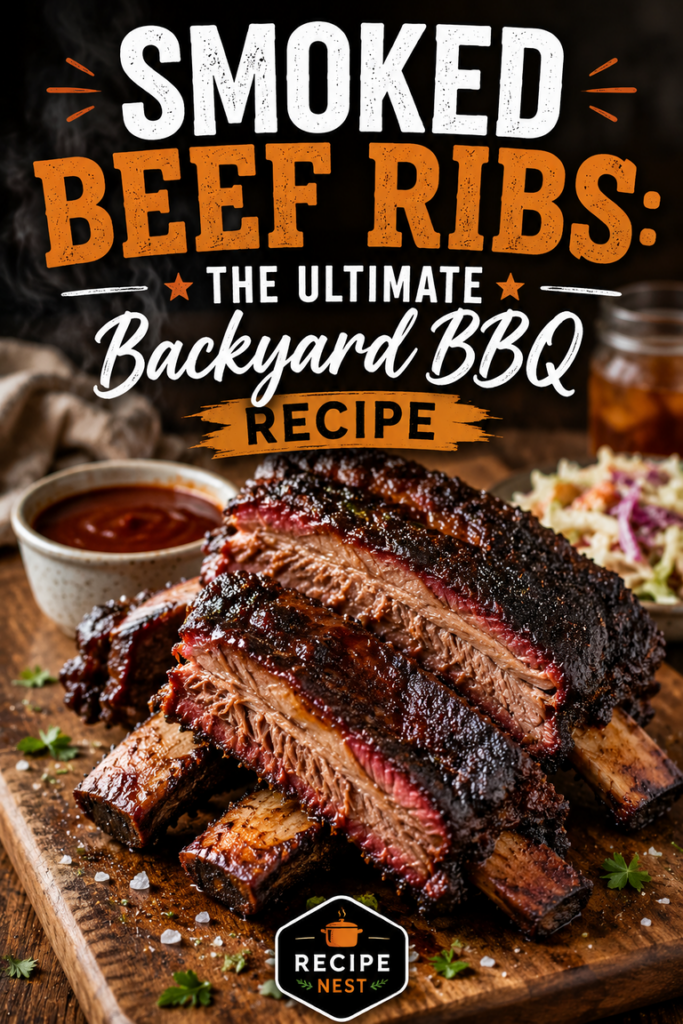
Smoked Beef Ribs: The Ultimate Backyard BBQ Recipe
There is a moment about six hours into a cook when the backyard starts smelling less like standard woodsmoke and more like a high-end Texas smokehouse. That is when you know the magic is happening. If you have ever been intimidated by the massive, prehistoric-looking racks of dino ribs at your local butcher, you are not alone. For years, I stuck to pork ribs because they felt safe, fast, and predictable. But the first time you pull a perfectly rendered, rich, and bark-covered rack of smoked beef ribs off the cooker, your entire approach to backyard barbecue changes forever.
Since the inception of our backyard cooking journey in 2011, we have tested dozens of methods to get that perfect bite. This isn’t a cook you rush, and it isn’t something you pull off using corporate shortcuts. It takes patience, a solid understanding of how fire interacts with beef fat, and a few key visual cues that a textbook simply cannot teach you. Let’s walk through exactly how to turn a tough piece of beef into the most tender, intensely flavorful barbecue you will ever serve your neighbors.
Why Smoked Beef Ribs Deserve a Spot on Your Menu
When you cook pork ribs, you are looking for a balance of sweet, savory, and a bit of chew. Beef plate ribs are an entirely different beast. Often called “brisket on a stick,” they give you the deep, rich flavor of a prime brisket flat coupled with the decadent, melt-in-your-mouth texture of the point, all cooked right on the bone. The bone acts as a natural insulator, keeping the meat incredibly juicy even during a long, dry smoke.
Another reason to love this cut is its forgiveness factor. Because plate ribs are heavily marbled with intramuscular fat, they do not dry out nearly as fast as a lean brisket flat. If your smoker temperature spikes by twenty degrees for an hour, the ribs will handle it gracefully. You get all the bragging rights of a master pitmaster with a significantly larger margin for error. Save this page now, because once your friends taste the bark on these ribs, they will ask for the step-by-step breakdown every single summer.
The Short List of Real-World Ingredients
You do not need an endless list of exotic spices or chemical tenderizers to make incredible smoked beef ribs. High-quality beef does the heavy lifting here.
-
Beef Three-Bone Plate Ribs (Sub-Primal 123A): Look for a rack weighing between 5 and 8 pounds. You want thick, even meat coverage across all three bones so the rack cooks uniformly.
-
Coarse Kosher Salt (Morton’s is my preference): The large grains dissolve slowly, drawing out moisture and creating a beautiful brine on the meat’s surface.
-
Coarse Black Pepper (16-mesh): This specific mesh size is crucial. Fine table pepper will turn into a bitter paste, while whole peppercorns are too harsh. 16-mesh creates the perfect bumpy texture for woodsmoke to cling to.
-
Granulated Garlic: Just a touch to add depth to the savory profile without scorching over a long cook.
-
Yellow Mustard: Used strictly as a binder. You won’t taste it at the end, promise.
-
Beef Broth or Apple Cider Vinegar: For spritzing during the final hours of the smoke.
Smart Substitutions for Every Kitchen
Barbecue is all about adapting to what is available at your local market.
The Cut of Meat
If you cannot find three-bone plate ribs (which come from ribs 6, 7, and 8), ask your butcher for beef chuck short ribs (ribs 1 through 5). Chuck ribs are usually sold in four-bone racks. They are slightly smaller and have a bit more connective tissue running through them, but they taste phenomenal and cook about two hours faster. Avoid thin-cut flanken ribs or Korean-style short ribs for this low-and-slow method; those are meant for hot-and-fast grilling.
The Rub Components
If you don’t have 16-mesh black pepper, you can use a pepper mill set to its coarsest setting. If you want a deeper color, you can substitute a quarter of the black pepper with dark chili powder or smoked paprika. For the binder, if you run out of yellow mustard, a thin coat of pickle juice, hot sauce, or even a light drizzle of olive oil works perfectly to help the salt and pepper stick.
The Essential Pitmaster Setup
You do not need a twenty-foot offset smoker to pull this off, but you do need a setup capable of maintaining indirect heat for several hours.
-
A Smoker or Kettle Grill: Whether you use a ceramic egg, a pellet grill, a drum smoker, or a classic charcoal kettle setup, the goal is indirect heat.
-
Wood Chunks or Pellets: Oak, hickory, or pecan are the champions for beef. Beef can handle heavy smoke, so do not be afraid of oak. Avoid delicate fruitwoods like apple or cherry here; they get lost against the rich beef fat.
-
A Reliable Instant-Read Digital Thermometer: This is non-negotiable. Cooking beef ribs by time alone is a recipe for tough, chewy meat. You must cook by temperature and feel.
-
Sharp Boning Knife: For trimming the hard fat cap.
-
Heavy-Duty Aluminum Foil or Peach Butcher Paper: For the optional wrapping phase.
Step-by-Step Instructions for Perfect Smoked Beef Ribs
1. Trimming and Prep
Place your rack of ribs on a large cutting board bone-side down. Look at the top surface. You will see a layer of hard fat and a tough membrane called silver skin. Unlike pork ribs, where you peel the membrane off the bone side, leave the bone-side membrane completely intact on beef ribs. If you remove it, the meat will literally fall off the bones during the cook, making it impossible to slice nicely.
Instead, focus on the top meat side. Trim away any hard, waxy chunks of fat. Leave a very thin layer—about an eighth of an inch—of soft fat. This fat will render down, basting the meat as it cooks.
2. Applying the Dalmatian Rub
Apply a very thin coat of yellow mustard all over the rack. Next, mix equal parts kosher salt and 16-mesh black pepper in a shaker, along with a tablespoon of granulated garlic. Shake the rub generously from about a foot above the meat. This height helps the spices distribute evenly instead of clumping in one spot. Pat the rub into the meat gently; do not rub it in, or you will smear the spices. Let the rack sit at room temperature for 30 minutes while you light the fire. The salt will begin to draw out moisture, turning the dry rub into a tacky glaze.
3. Setting the Fire
Fire up your smoker to a steady $250^\circ\text{F}$ ($121^\circ\text{C}$). Ensure you have a clean, blue smoke rolling out of your stack. White, billowing smoke means your fire is starved for oxygen, which deposits a bitter, ashy taste onto the meat. Place a water pan inside the cooking chamber to keep the environment humid.
4. The Initial Smoke Phase
Place the ribs right in the center of the grate, bone-side down. Close the lid and leave it alone for the first three hours. Resist the urge to peek. Every time you open the lid, you lose heat and drop the humidity levels inside the cooker.
Around hour three, look at the ribs. The meat should be starting to pull back from the tips of the bones, and the surface should look dark maroon or mahogany. Touch the surface lightly; if the rub stays firmly on the meat and does not stick to your finger, the bark is set.
5. Spritzing for Moisture
Once the bark is set, begin spritzing the ribs every hour with your beef broth or a 50/50 mix of apple cider vinegar and water. Focus on any edges that look dry or leathery. Spritzing cools down the surface slightly, slowing down the cooking process and allowing more smoke to penetrate the meat.
6. The Verdict: To Wrap or Not to Wrap?
Around hour five or six, the internal temperature will likely stall somewhere between $170^\circ\text{F}$ and $185^\circ\text{F}$ ($77^\circ\text{C}$ and $85^\circ\text{C}$). The fat is rendering, and moisture is evaporating from the surface, cooling the meat down.
-
Option A (No Wrap): If you want a dark, crunchy, heavy bark, leave the ribs uncovered on the grate until they are finished. This takes longer but yields incredible texture.
-
Option B (The Wrap): If you want to speed up the process and prefer a softer, ultra-tender texture, wrap the rack tightly in two layers of peach butcher paper or heavy aluminum foil. Add a splash of beef broth inside the wrap before sealing it. Return it to the smoker.
7. Testing for True Doneness
Start probing the meat between the bones around the 7-hour mark. Ignore the clock. The ribs are done when your temperature probe glides into the thickest part of the meat with absolutely zero resistance. It should feel like pushing a warm needle through soft butter. The internal temperature will usually read between $203^\circ\text{F}$ and $208^\circ\text{F}$ ($95^\circ\text{C}$ and $98^\circ\text{C}$).
8. The Crucial Rest
Remove the ribs from the smoker. If you wrapped them in foil, open the top for five minutes to let the steam escape so the bark doesn’t turn to mush, then close it back up. Wrap the whole bundle in an old towel and place it inside an empty cooler for at least one hour. This resting period allows the muscle fibers to relax and reabsorb all the rich juices. If you slice them immediately, all that liquid will pour out onto your cutting board, leaving you with dry meat.
Expert Cooking Tips from a Home Cook
-
Watch the Bone Pullback: As the meat cooks, it will shrink significantly, exposing two to three inches of bare bone. This is completely normal and a great visual indicator that the connective tissue is breaking down.
-
Use the Right Knife to Slice: When it’s time to serve, turn the rack bone-side up on your board so you can clearly see the paths between the bones. Use a long, sharp carving knife to slide right down between them in a single, clean stroke.
Common Mistakes to Avoid
-
Pulling the Ribs Too Early: Because these ribs have a ton of connective tissue, they can feel tough at $190^\circ\text{F}$ ($88^\circ\text{C}$). Beginners often panic and pull them off thinking they are overcooked. Hold the line. That tissue needs time to melt into gelatin. Trust the butter-like probe test.
-
Using Complex Sugary Rubs: Avoid heavy brown sugar rubs early in the cook. Over an eight-hour smoke, sugar burns and turns completely black and bitter. Save the sweet stuff for pork. Beef wants salt, pepper, and wood.
-
Skipping the Water Pan: Dry air cooks meat faster, but it also creates a thick, tough exterior layer that smoke cannot penetrate easily. A simple aluminum pan filled with warm water keeps the environment ideal.
Storage and Reheating Secrets
If you happen to have leftovers, wrap the individual bones tightly in plastic wrap, then place them in a zip-top bag in the refrigerator for up to four days.
To reheat them without drying them out, avoid the microwave at all costs. Instead, wrap the bone in aluminum foil with two tablespoons of beef broth or water. Place it in an oven or smoker preheated to $250^\circ\text{F}$ ($121^\circ\text{C}$) for about 30 minutes, or until the internal temperature reaches $165^\circ\text{F}$ ($74^\circ\text{C}$). It will taste just as juicy as it did right off the smoker on day one.
Estimated Nutrition Information
Per generous single-bone serving:
| Nutrient | Amount |
| Calories | 780 kcal |
| Total Fat | 58g |
| Saturated Fat | 24g |
| Cholesterol | 165mg |
| Sodium | 820mg |
| Total Carbohydrates | 1g |
| Protein | 52g |
Note: Nutritional values are estimates based on standard USDA data for beef plate short ribs trimmed to an eighth-inch fat cap and will vary based on the specific marbling of your rack.
Leave a Reply