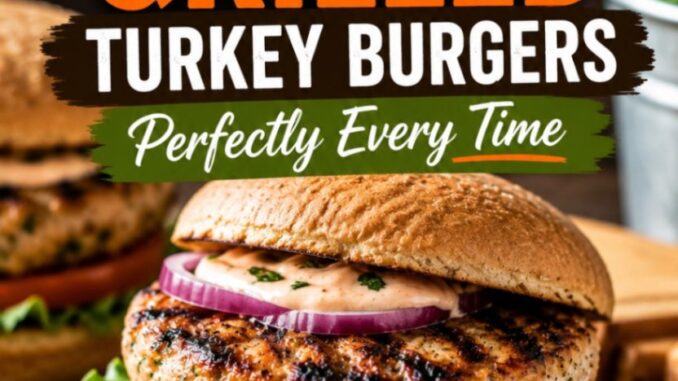
The Secret to Juicy Grilled Turkey Burgers Every Single Time
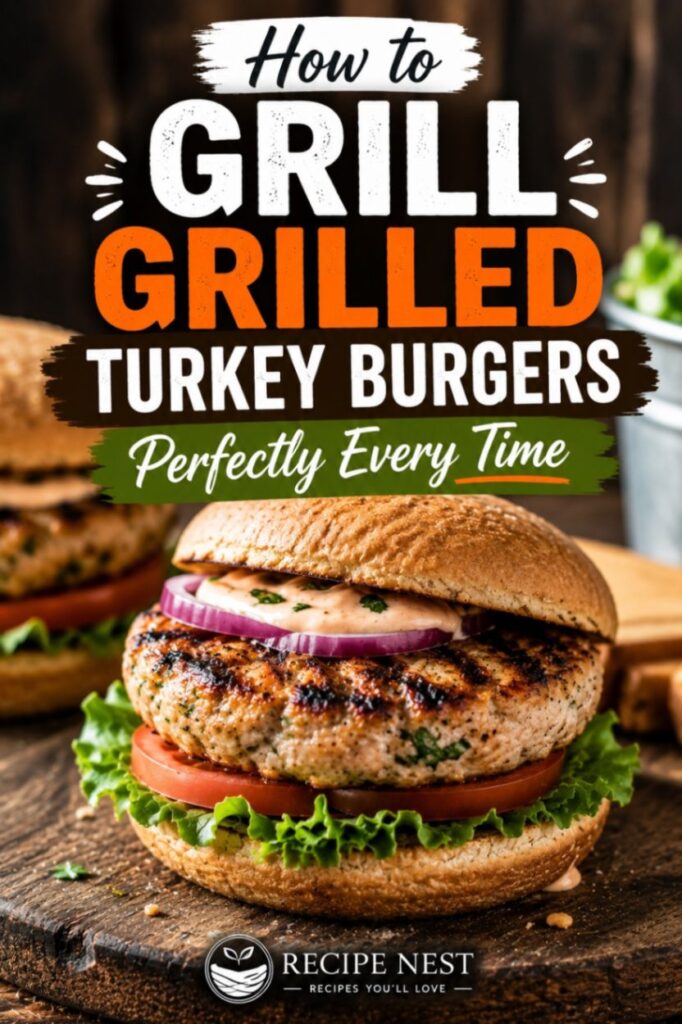
Let’s face it: most people are terrified of cooking lean poultry over an open flame because it has a notorious reputation for turning into dry, crumbly hockey pucks. I used to be one of those skeptical cooks until I figured out the exact balance of fat, moisture binders, and direct heat needed to make spectacular grilled turkey burgers right in my own backyard. Since this recipe’s inception in 2016, it has become a staple for my family’s summer cookouts, consistently winning over even the most dedicated beef purists on the block.
You do not need fancy culinary school tricks to pull this off; you just need to understand how lean meat behaves on a hot grate. Pin this guide to your favorite grilling board right now, because once you master these simple principles, you will be the designated burger chef for every neighborhood potluck.
Why This Method Beats the Cardboard Alternative
The primary issue with ground turkey is the lack of fat. While ground beef naturally carries enough marbled fat to stay forgiving on the grill, turkey requires a little strategic help to remain succulent. This recipe tackles that exact structural flaw by introducing targeted moisture agents that trap the juices inside the patty before the heat can evaporate them.
When you bite into these patties, you get a beautiful, charred crust on the outside that yields to a tender, deeply savory interior. They hold their shape perfectly without falling through the grates, which is a massive win for anyone who has ever watched their dinner drop into the charcoal. Make sure to bookmark this page so you can easily pull up these foundational steps next weekend.
Ingredients You Will Find at Any Grocery Store
You do not need to hunt down specialty items to make these burgers taste incredible. Everything on this list is readily available at your local supermarket, and you likely have most of the seasonings sitting in your pantry right now.
-
93% Lean Ground Turkey: Avoid the 99% fat-free breast meat for grilling. It lacks the necessary structural fat to survive the heat. The 93/7 blend provides the perfect balance of lean protein and flavor-carrying fat.
-
Grated Yellow Onion: This is the ultimate secret weapon. Grating the onion instead of chopping it creates a fine paste and juice that blends seamlessly into the meat, ensuring every bite stays moist.
-
Worcestershire Sauce: This adds a rich, savory depth that mimics the umami profile of traditional beef burgers.
-
Olive Oil: A small splash mixed directly into the meat adds back some of the healthy lipids that poultry naturally lacks.
-
Garlic Powder and Onion Powder: These distribution-friendly spices season the entire patty uniformly without creating large chunks that cause the meat to split apart.
-
Fine Kosher Salt and Freshly Cracked Black Pepper: Do not skimp on the salt; poultry needs proper seasoning to shine.
Smart Substitutions for Different Diets
Cooking for a crowd means adapting to what people need. Fortunately, this base mix is incredibly forgiving if you need to swap things around.
Swapping the Moisture Binders
If you do not have Worcestershire sauce on hand, a high-quality tamari or soy sauce works beautifully to deliver that same deep, savory note. For those avoiding soy entirely, a splash of coconut aminos does the trick, though it adds a slightly sweeter undertone that you can balance with an extra pinch of black pepper.
Fat Alternatives
If you prefer not to use olive oil, avocado oil is an excellent alternative because of its high smoke point. I have even used melted ghee in a pinch, which adds a wonderfully rich, buttery aroma to the meat as it hits the hot grill grates.
The Essential Tools for Grilling Success
Having the right gear prevents unnecessary stress when you are standing over a hot fire. Gather these basic tools before you start mixing your meat.
-
An Instant-Read Digital Meat Thermometer: This is non-negotiable. Because poultry must be cooked completely through, you cannot rely on visual guesswork. A digital probe tells you the exact moment to pull them off the fire.
-
A Sturdy Metal Spatula: Look for a wide spatula with a thin, beveled edge. This allows you to slide smoothly under the patty crust without tearing the delicate meat.
-
A Pastry Brush: You will use this to apply oil directly to the grill grates right before the meat goes down.
Step-by-Step Instructions for Perfect Patties
Follow these steps precisely, paying close attention to the temperature cues and textural changes in the meat.
Step 1: The Cold Mix
Keep your ground turkey in the refrigerator until the exact moment you are ready to mix. Warm turkey fat becomes incredibly sticky and difficult to handle. In a large bowl, combine the ground turkey, grated onion, Worcestershire sauce, olive oil, garlic powder, onion powder, salt, and pepper.
Using clean hands, gently blend the ingredients together just until combined. Do not overwork the meat. Over-mixing compresses the proteins, leading to a dense, tough texture once cooked.
Step 2: Shaping and the Central Dimple
Divide the mixture into four equal portions. Lightly wet your hands with cold water to prevent sticking, then shape each portion into a patty roughly three-quarters of an inch thick. Make the patties slightly wider than your burger buns, as they will shrink slightly on the heat.
Press your thumb firmly into the center of each patty to create a shallow well. Turkey burgers tend to puff up into round balls as the proteins tighten during cooking; this dimple ensures they cook flat and evenly. Place the formed patties on a parchment-lined plate and chill them in the fridge for 20 minutes to firm up.
Step 3: Preparing the Fire
Clean your grill grates thoroughly with a stiff brush to remove any leftover residue from previous cookouts. Light your grill and bring the internal temperature up to a steady medium-high heat, roughly 400°F.
Right before you lay the meat down, dip a folded paper towel in vegetable oil, hold it with long tongs, and carefully wipe the hot grates. This creates a slick, non-stick surface that guarantees a clean release.
Step 4: The Direct Sear
Lay your chilled patties directly over the heat source. You should hear an immediate, loud sizzle. Close the grill lid and leave them entirely alone for 5 to 6 minutes. Do not press down on the patties with your spatula; this forces out the precious moisture you worked so hard to incorporate.
You will know they are ready to flip when the edges turn opaque and the underside detaches easily from the metal without tearing. Flip them once, close the lid again, and cook for another 4 to 5 minutes.
Grill Setup: Direct Medium-High Heat (400°F)
Total Cook Time: 9-11 Minutes
Target Pull Temp: 162°F (Rises to 165°F while resting)
Step 5: The Temperature Check and Rest
Insert your digital thermometer into the thickest part of the patty horizontally. Pull the burgers off the grill when they read 162°F. Place them on a warm platter and tent them loosely with aluminum foil.
During this five-minute rest period, residual heat will carry the internal temperature up to the food-safe threshold of 165°F, while the internal juices redistribute throughout the meat instead of spilling out onto your plate.
Expert Grilling Tips Learned the Hard Way
-
Embrace the Chill: Never skip the refrigerator rest after shaping your patties. Chilling helps the fats solidify, keeping the burger intact when it first encounters the intense heat of the grill.
-
The Single Flip Rule: Resist the urge to constantly flip or move the burgers around. A great crust requires uninterrupted contact with the hot metal. Flip once, and only once.
-
Build a Double-Zone Fire: If you are using a charcoal grill, pile the coals on one side to create a hot zone for searing and a cooler zone for gentle cooking. If your burgers are browning too fast on the outside before reaching 165°F inside, simply slide them to the cooler side to finish.
Common Mistakes to Avoid at All Costs
Using Meat That Is Too Lean
Using 99% lean white breast meat is the easiest way to end up with dry results. The lack of dark meat and natural fat means the burger has no buffer against the drying effects of open-flame cooking. Stick to the 93% blend for the best burger texture.
Guessing the Doneness
Color is an unreliable indicator for poultry. A turkey burger can look perfectly white or charred on the outside while remaining undercooked in the center, or it can look slightly pink near the bone line despite being completely safe. Trust your digital thermometer above all else.
Storage and Reheating Guidelines
If you end up with leftovers, you can absolutely enjoy them the next day without sacrificing their moist texture.
Proper Refrigeration
Allow the cooked patties to cool completely to room temperature before transferring them to an airtight container. They will keep beautifully in the refrigerator for up to three days.
Gentle Reheating
Avoid the microwave if you can help it, as it tends to make poultry rubbery. Instead, place the patties in a skillet over medium-low heat with a tablespoon of water or broth. Cover the pan with a lid to create a steam chamber, heating for about 3 to 4 minutes until warmed through.
Estimated Nutritional Information
Per individual cooked patty (excluding bun and toppings)
| Nutrient | Amount |
| Calories | 220 kcal |
| Protein | 24g |
| Fat | 13g |
| Saturated Fat | 3g |
| Carbohydrates | 2g |
| Sodium | 380mg |
Note: These numbers are estimates based on standard 93/7 ground turkey profiles and the ingredients listed above. Actual values may vary depending on specific brands.
Leave a Reply