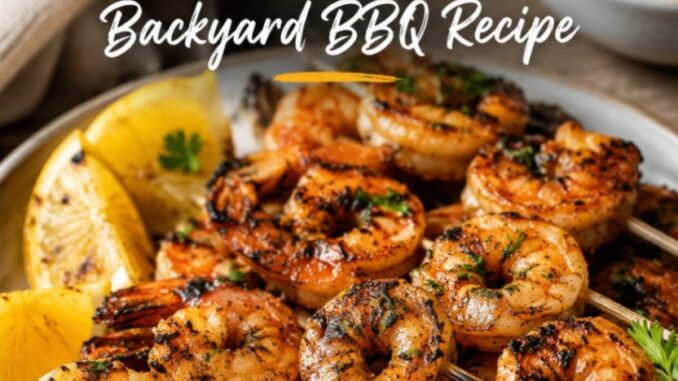
How to Make Perfect Grilled Shrimp Every Single Time
There is nothing quite like the smell of a hot grill fired up on a lazy Saturday afternoon, especially when you are throwing down some seafood. If you have ever been disappointed by rubbery, tasteless shrimp that curl up into tight, dry little knots, you are not alone. Getting perfectly juicy, charred grilled shrimp takes a tiny bit of know-how, but once you master a few basic techniques, you will be the absolute hero of the neighborhood cookout.
This specific approach has been my go-to since the recipe’s inception in 2012, and it turns out flawless results every summer. We are talking about a quick, bright marinade that punches up the natural sweetness of the shellfish without overpowering it, followed by a blisteringly fast sear over direct heat. Pin this page right now, because once your friends taste these, they will be begging you for the link before the plates are even cleared.
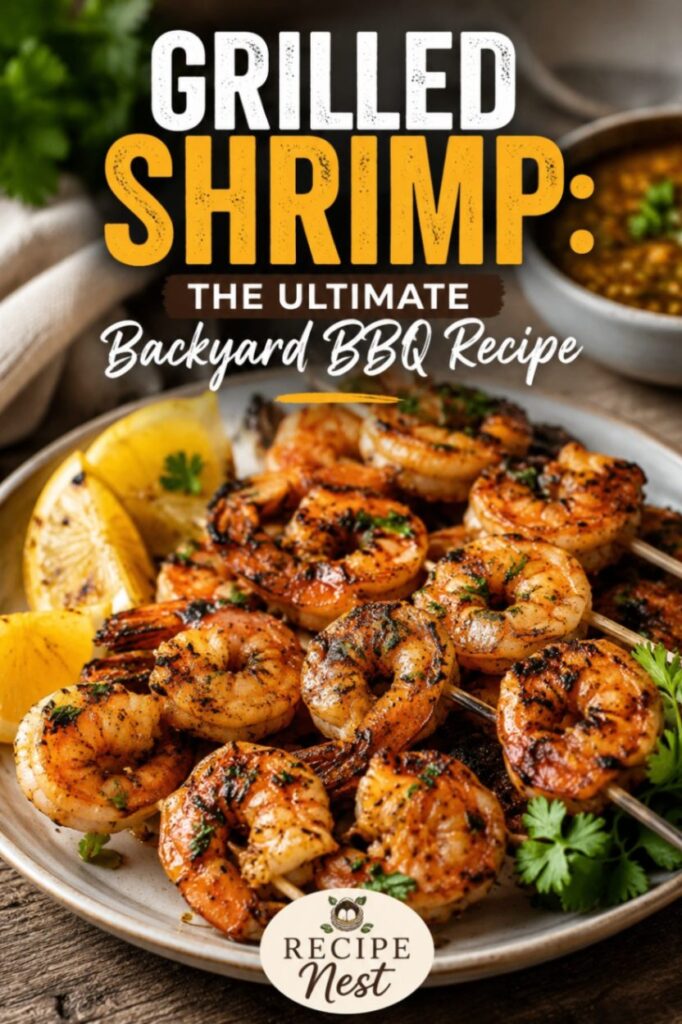
Why This Method Beats the Rest
Most people treat shrimp like chicken or steak on the grill, leaving them over the fire far too long. Shrimp cook incredibly fast—we are talking mere minutes. This recipe relies on a high-heat strategy that locks in the juices while developing those beautiful, smoky char marks that make outdoor cooking so special.
By using a balanced marinade with just the right amount of fat, acid, and seasoning, you create a gorgeous glaze that caramelizes the second it hits the grates. The result is a texture that snaps cleanly when you bite into it, yielding a tender, sweet interior that tastes like a luxury meal but comes together in under half an hour.
The Grocery List
You do not need an upscale seafood market to make this dish spectacular. Everything you need is readily available at your local supermarket.
-
Large Shrimp (16/20 count): Look for bags labeled 16/20, which means there are 16 to 20 shrimp per pound. These are large enough to handle the high heat of the grill without drying out instantly. Raw, peeled, and deveined shrimp with the tails left on are ideal for convenience and presentation.
-
Olive Oil: A good quality, everyday extra virgin olive oil forms the base of our marinade. It coats the seafood, prevents sticking, and helps conduct the grill’s heat evenly.
-
Fresh Garlic: Grating or mincing fresh cloves makes a massive difference here. Garlic powder has its place, but fresh garlic gets beautifully fragrant as it toasts over the fire.
-
Lemon Juice and Zest: Always use fresh lemons. The zest contains essential oils that deliver a deep, bright citrus aroma, while the juice adds a clean brightness.
-
Smoked Paprika: This gives the shrimp a gorgeous reddish-gold color and introduces a subtle, earthy wood-smoke flavor before they even touch the charcoal.
-
Kosher Salt and Coarse Black Pepper: Essential for drawing out the natural flavors of the seafood.
-
Red Pepper Flakes: Just a pinch for a tiny kick of background warmth. It will not make them spicy enough to scare off the kids, but it keeps the flavor profile interesting.
Smart Substitutions for Every Pantry
Don’t skip the recipe just because you are missing an ingredient. Here is how you can pivot without losing that backyard magic:
-
The Acid: If you are fresh out of lemons, limes work beautifully and lean into a more tropical, cilantro-lime vibe. A splash of white wine vinegar can also step in if you are completely out of fresh citrus.
-
The Fat: Avocado oil or unflavored vegetable oil can replace olive oil seamlessly. If you want a richer, classic diner feel, melted unsalted butter works well, though you will need to watch for flare-ups on the grill.
-
The Spice: If smoked paprika isn’t in your spice cabinet, standard sweet paprika works fine for color. If you want more heat, swap the red pepper flakes for a dusting of cayenne pepper or a dash of your favorite hot sauce directly into the marinade.
Tools for Success
Having the right gear prevents your dinner from slipping through the grates and falling into the coals.
-
Wooden or Metal Skewers: If using wooden bamboo skewers, submerge them in water for at least thirty minutes before threading. This prevents them from catching fire and snapping while you flip your food.
-
A Stiff Grill Brush: A clean grill is non-negotiable for seafood. Residual bits of last weekend’s burgers will cause your delicate shrimp to tear and stick.
-
Tongs: Long-handled tongs give you the control you need to flip the skewers quickly without burning your knuckles.
-
A Small Basting Brush: Perfect for swiping a little extra marinade or melted butter over the top during the final minute of cooking.
Step-by-Step Instructions
Follow these steps closely, keeping an eye on the visual cues rather than just the clock. Shrimp do not wait around for anyone.
1. Prep and Dry the Seafood
Thaw your shrimp completely if they were frozen. Place them on a baking sheet lined with paper towels and pat them completely dry. If there is excess moisture on the surface, they will steam instead of searing, and you will miss out on those coveted grill marks.
2. Mix the Marinade
In a large bowl, whisk together the olive oil, fresh lemon zest, squeezed lemon juice, minced garlic, smoked paprika, kosher salt, black pepper, and red pepper flakes. The mixture should smell intensely fragrant, bright, and savory.
3. The Quick Soak
Toss the dried shrimp into the bowl, ensuring every single one is thoroughly coated in the seasoned oil. Leave them at room temperature for no more than 15 to 20 minutes.
A Note on Timing: Do not leave them in this mixture for hours. The acid from the fresh lemon juice will actually begin to break down the delicate proteins, effectively “cooking” the shrimp like a ceviche and turning the final texture mushy.
4. Skewer Them Securely
Thread the shrimp onto your skewers. I like to pierce them in two places: once through the thickest part near the head, and once down near the tail. This prevents them from spinning loosely when you try to flip the skewer over. Pack them relatively close together so they stay juicy, but don’t smash them so tightly that the heat can’t circulate between them.
5. Fire Up the Grill
Preheat your grill to medium-high heat, aiming for a surface temperature around 400°F to 450°F. Once hot, scrub the grates thoroughly with your grill brush. Right before the food goes on, dip a folded paper towel in a little vegetable oil, hold it with your tongs, and wipe the grates down to create a slick, non-stick surface.
6. The Fast Sear
Lay the skewers directly over the heat source. You should hear an immediate, satisfying sizzle. Close the lid and let them cook undisturbed for about 2 to 3 minutes. You will know it is time to flip when the edges turn opaque and the undersides show a beautiful pinkish-orange hue with distinct dark char marks.
7. Flip and Finish
Flip the skewers using your tongs. Brush a tiny bit of extra clean oil or melted butter over the top if desired. Cook the second side for another 2 minutes. The shrimp are perfectly done when they form a gentle “C” shape and are completely opaque all the way through. Remove them immediately to a clean serving platter.
                        GRILL TIME GUIDE

     Side 1: Direct Heat          Side 2: Direct Heat          Total Time
   [ 2 to 3 Minutes ] ------> [ 2 Minutes ] ----------> [ 4 to 5 Minutes ]
     (Edges turn pink)          (Opaque throughout)         (Perfect Snap)
Expert Tips for the Ultimate Cookout
-
Go Double on Skewers: If you struggle with your food spinning around like a propeller when you try to flip it, use two parallel skewers per row of shrimp. This locks them in place completely and makes flipping effortless.
-
Keep the Tails On: Even if you prefer eating them without the hassle of the shell, leaving the tails on during the cooking process adds flavor and provides a natural, sturdy handle for turning them on the plate.
-
The Ice Bath Thaw: If you need to thaw frozen seafood quickly, never use the microwave or warm water. Place the frozen shrimp in a colander inside a larger bowl and run cold tap water over them for about 10 minutes. They will thaw perfectly without losing their structural integrity.
Common Mistakes to Avoid
-
Overcooking: This is the absolute biggest error people make. If your shrimp curl tightly into a hard “O” shape, they are overdone and will taste like rubber bands. Pull them off the heat when they still look like a loose “C”.
-
Neglecting the Heat: If your grill isn’t hot enough, the shrimp will sit there warming up slowly, leaking out their natural juices and getting tough before the outside ever gets a chance to brown. Wait for the sizzle.
-
Using Wet Shrimp: If you dump them straight from the thawing bowl into the marinade without patting them dry, the water dilutes the oil and spices, preventing the marinade from sticking to the meat.
Keeping and Reheating Leftovers
If you happen to have leftovers, they make an incredible addition to a cold lunchtime salad the next day.
Storage
Slide the cooled shrimp off the skewers and place them into an airtight container. Keep them in the refrigerator for up to two days. Because seafood spoils quickly, get them into the fridge within an hour of cooking.
Reheating
Be incredibly gentle when warming them back up, as you don’t want to cook them a second time. Avoid the microwave if you can. Instead, heat a splash of olive oil or butter in a skillet over medium-low heat, toss in the leftovers, and stir just until they are warmed through—about 90 seconds.
Estimated Nutrition
This preparation is naturally light, packed with clean protein, and fits beautifully into a variety of eating plans.
| Nutrient | Amount Per Serving |
| Calories | 180 |
| Protein | 23g |
| Total Fat | 8g |
| Saturated Fat | 1g |
| Carbohydrates | 1g |
| Sodium | 420mg |
Note: Documented values are estimates based on a standard four-ounce serving of large shrimp prepared with the specified marinade ingredients.
Make sure to save this post to your favorite outdoor cooking board so you can find it the next time the sun is shining and the patio is calling your name!
Leave a Reply