How to Make Perfect Grilled Hot Dogs Every Single Time
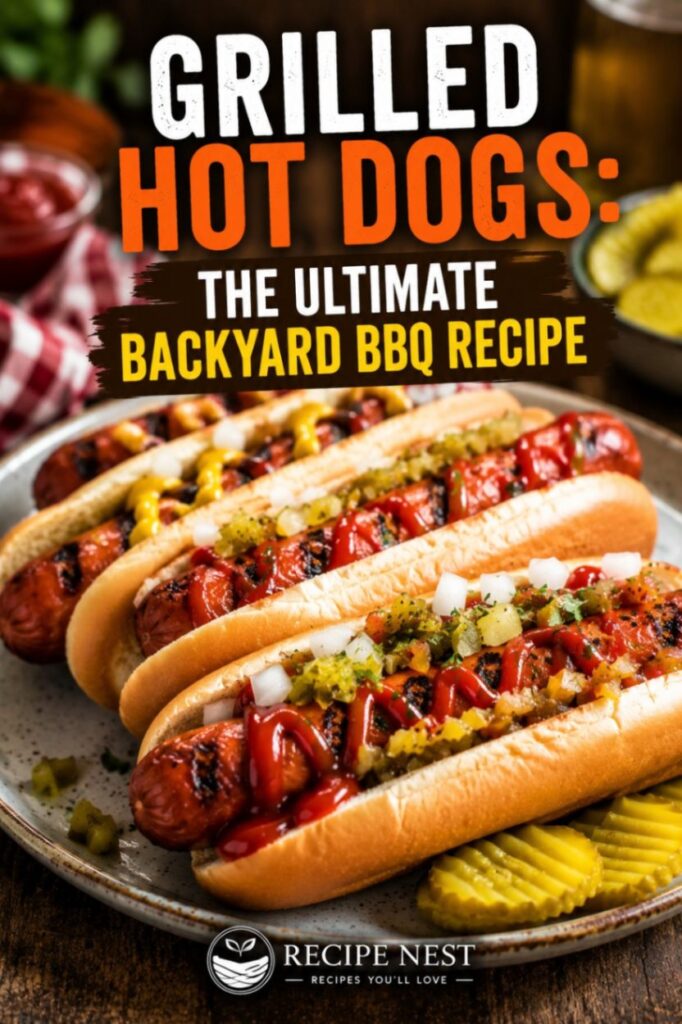
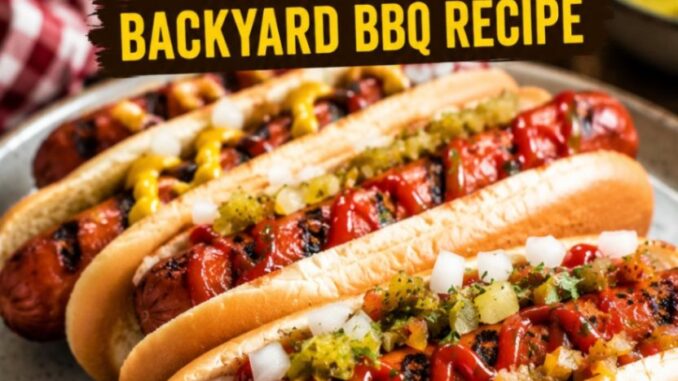
There is a distinct moment when summer truly feels like it has arrived, and it always happens right at the grill. You light the charcoal, the smoke starts drifting across the yard, and you lay down that first batch of franks. Getting grilled hot dogs exactly right is a foundational skill for any backyard cook, yet it is so easy to mess up if you rush the process.
Since the inception of Recipe Nest in 2019, our mission has been to break down classic American comfort foods so you can nail them on the very first try. A great hot dog should not have a charred, burst exterior and a cold center. You want a uniform, smoky char, a juicy interior, and a bun that actually holds up to the toppings.
Why This Grilling Method Works
Most people treat hot dogs as an afterthought. They throw them over screaming high flames, watch the casings split wide open, and serve them shriveled. This method changes that by treating the humble hot dog with a bit of strategy.
-
Controlled Heat Management: By utilizing a two-zone fire, you heat the meat through entirely before moving it over to get those iconic grill marks.
-
No Burst Casings: Splitting lets all the flavorful juices run out onto your grates. Keeping the skin intact ensures every bite stays incredibly juicy.
-
The Perfect Bun Toast: A cold, dry bun ruins a hot dog. Steaming or lightly grilling the bun creates a pillowy texture that absorbs the flavors beautifully.
The Ingredients You Need
Achieving backyard perfection requires starting with the right components. You do not need anything fancy, but quality matters when the ingredient list is this short.
The Hot Dogs
Look for all-beef franks, preferably with natural casings if you can find them. Natural casings provide that distinct “snap” when you bite into them. Standard skinless hot dogs work perfectly fine too, but they will not have quite the same structural crunch. Brand-wise, look for options that feel firm to the touch through the packaging. Soft, mushy hot dogs will stay soft and mushy on the grill.
The Buns
Standard top-split or side-split potato buns are the gold standard here. They have enough structural integrity to hold heavy toppings without breaking apart, and their natural sweetness pairs incredibly well with salty meat. Brioche buns are another great option if you want something a bit richer.
The Essential Toppings
-
Yellow Mustard: Offers a sharp, vinegary punch that cuts through the richness of the beef.
-
Sweet Pickle Relish: Adds texture and a bright, sweet contrast.
-
Finely Diced White Onion: Provides a crisp, sharp bite. Do not chop them too large, or they will fall out of the bun.
Smart Ingredient Substitutions
-
For the Beef: If you do not eat beef, high-quality pork or turkey franks work well. Just keep a closer eye on turkey dogs, as they contain less fat and can dry out much quicker on the grill.
-
Gluten-Free Options: Use your favorite gluten-free buns, but be sure to steam them rather than grill them directly. Gluten-free bread tends to crumble when exposed to dry grill heat.
-
Topping Variations: Swap the yellow mustard for a coarse brown mustard if you prefer a deeper, spicier flavor profile.
Equipment You Will Need
You do not need an expensive setup to make incredible grilled hot dogs, but having the right tools makes the process seamless.
-
A Charcoal or Gas Grill: Either works perfectly, though charcoal adds that classic smoky backyard depth.
-
Long-Handled Tongs: Never use a fork to turn your hot dogs. Piercing the meat lets the juices escape.
-
A Wire Grill Brush: Clean grates prevent the meat from sticking and tearing.
-
A Pastry Brush: Useful if you plan to lightly butter your buns before toasting.
Step-by-Step Instructions
1. Prep Your Grill Grates
Start with a completely clean grill. Fire up your charcoal or turn on your gas burners, let the grates get hot, and scrape away any leftover debris from your last cookout. Once clean, lightly dip a folded paper towel in a neutral cooking oil and use your tongs to wipe down the grates. This creates a non-stick surface so your hot dogs roll easily.
2. Set Up a Two-Zone Fire
If using charcoal, pile your lit coals entirely on one side of the grill, leaving the other side empty. If using gas, turn the burners on one side to medium-high and leave the other burners completely off. This gives you a safe zone where the meat can warm through without burning.
3. Start on the Indirect Side
Place your hot dogs on the cooler, indirect side of the grill first. Close the lid and let them warm through for about 4 to 5 minutes. You will know they are ready for the next step when they look plump and their color deepens slightly. This step ensures the center gets hot without cooking the outside too fast.
4. Move to Direct Heat for the Sear
Using your tongs, roll the hot dogs over to the hot side of the grill. Stay right there—do not walk away. Roll them frequently to get even grill marks across the entire surface. You are looking for a light blistered texture and deep brown color. This should only take about 2 to 3 minutes.
5. Toast the Buns
During the last minute of grilling, open your buns and place them face-down on the cooler side of the grill. If your grill runs hot, you can even place them on the warming rack. They only need about 30 to 45 seconds to become warm, soft, and slightly golden.
Expert Grilling Tips
-
Watch the Salt Content: Hot dogs are already cured and salted. You do not need to season them at all before they hit the grates.
-
Keep Things Moving: Hot dogs shape themselves like cylinders for a reason—they are meant to be rolled. Constantly rolling them ensures an even char all the way around.
-
Toss the Fork: It cannot be overstated—never poke holes in your hot dogs while they cook. The pressure inside keeps them juicy; poking them turns them into dry leather.
Common Mistakes to Avoid
Burning the Outside While the Inside Stays Cold
This happens when you blast the franks over high heat from the very start. The casing chars immediately, prompting you to pull them off the grill before the center has even warmed through. Stick to the two-zone method to avoid this entirely.
Letting the Buns Get Stale on the Grill
Buns burn incredibly fast because of their sugar content. Never leave them unattended. If you turn your back for a minute, you will likely end up with black, crunchy edges that ruin the texture of the meal.
Slashing the Meat Too Deeply
Some people like to cut spiral patterns or deep slits into their hot dogs before grilling. While it looks interesting, it causes the meat to lose a massive amount of moisture. If you prefer textural ridges, keep the cuts incredibly shallow—barely nicking the surface.
Storage and Meal Prep
If you happen to have leftovers, let the grilled hot dogs cool down to room temperature before packing them away. Place them in an airtight container and store them in the refrigerator for up to 4 days. Keep the leftover buns in their original packaging at room temperature; storing bread in the fridge dries it out quickly.
Reheating Instructions
To preserve that great grilled texture, avoid the microwave if you have the time. Instead, heat a skillet over medium heat with a tiny splash of water or butter. Add the hot dogs, cover the pan with a lid, and let them steam-fry for about 3 to 4 minutes until hot all the way through. This method keeps the exterior plump instead of rubbery.
Estimated Nutrition Information
Per serving (1 standard beef frank on a potato bun, without toppings):
| Nutrient | Amount |
| Calories | 310 |
| Total Fat | 16g |
| Saturated Fat | 7g |
| Sodium | 680mg |
| Total Carbohydrates | 24g |
| Protein | 11g |
Leave a Reply