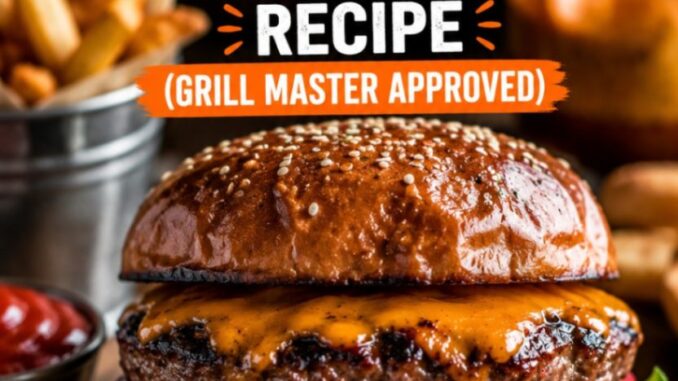
The Best Juicy Grilled Burgers Recipe (Grill Master Approved)
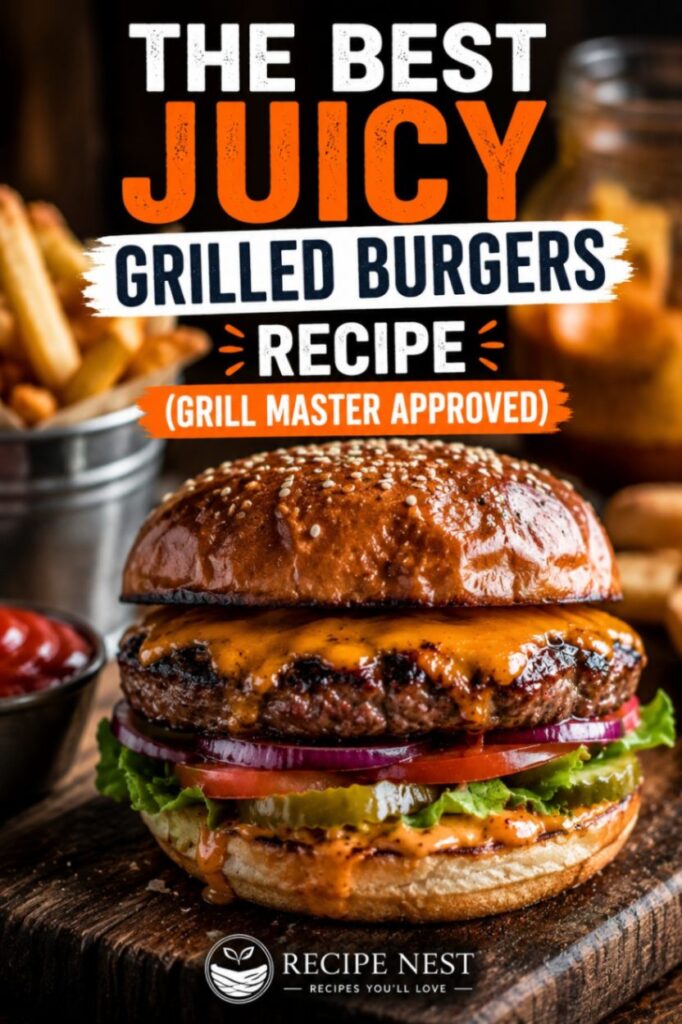
There is nothing quite like the smell of charcoal smoke drifting across the backyard on a warm summer evening. For years, I struggled to replicate the rich, dripping burgers from my favorite local diner on my own backyard grill. They always came out either dry like hockey pucks or puffed up in the middle like footballs. After hundreds of tests, countless cookouts, and plenty of trial and error, I finally unlocked the secrets to making incredibly juicy grilled burgers right at home.
This recipe strips away the unnecessary fillers and focuses entirely on technique, temperature control, and high-quality meat. You do not need a culinary degree or an expensive professional setup to master the grill. With a few simple adjustments to how you shape your patties and manage your fire, you can consistently serve up perfect, restaurant-quality results that will have your neighbors asking for your secret.
Why You Will Love This Recipe
-
Unmatched Moisture: By using the correct fat ratio and keeping the meat cold, the juices stay trapped inside the patty where they belong instead of draining into the fire.
-
Simple Ingredients: We rely on the natural beef flavor rather than burying it under a mountain of complex seasonings or breadcrumbs.
-
Perfect Shape Every Time: The classic backyard “burger bulge” is completely eliminated using a simple structural trick before the meat hits the heat.
-
Easily Customizable: This method serves as a reliable canvas for whatever cheese, toppings, or buns your family prefers.
The Secret to Choosing the Right Ingredients
To make truly juicy grilled burgers, your choice of meat is the absolute foundation. If you start with the wrong blend, no amount of grilling skill can save the final texture.
-
Ground Beef (80/20 Blend): You want ground chuck that is 80% lean and 20% fat. Fat equals flavor and moisture. Lean blends like 90/10 or 93/7 will inevitably dry out on a hot grill because the moisture burns off too quickly.
-
Coarse Kosher Salt: Fine table salt is easy to overdo and dissolves too rapidly, drawing moisture out of the meat prematurely. Coarse salt creates a beautiful, savory crust.
-
Freshly Cracked Black Pepper: The pre-ground pepper in a tin loses its oils and ends up tasting like dust. Freshly cracked pepper provides a bold, pungent bite that cuts through the rich beef fat.
-
Garlic Powder: Just a subtle hint provides a savory background note without overpowering the natural beef flavor.
-
High-Quality Cheese: Sharp cheddar, American, or Swiss work best. Choose something that melts quickly and smoothly.
-
Buns: Brioche or classic potato buns offer a soft texture that holds up beautifully to the juices without falling apart.
Ingredient Substitutions
If you need to pivot based on what is available at your local grocery store, keep these reliable swaps in mind:
-
The Beef: If you cannot find ground chuck, ground sirloin mixed with a bit of ground pork can work. If you must use a leaner beef mix, add a tablespoon of melted butter or olive oil directly into the meat before shaping to mimic the necessary fat content.
-
The Cheese: Swap American cheese for mild Colby, Monterey Jack, or a smoky Gouda if you prefer a different flavor profile.
-
The Buns: A toasted pretzel bun adds an excellent savory depth, though it is denser than a potato bun. For a gluten-free option, large iceberg lettuce leaves provide a crisp, clean crunch.
Equipment Needed
You do not need anything fancy, but a few specific tools make the process much smoother and safer.
-
A Charcoal or Gas Grill: Either works, though charcoal provides that distinct, smoky backyard aroma.
-
A Solid Metal Spatula: Look for a wide, sturdy spatula with a thin edge. This allows you to slide smoothly under the burger crust without tearing the meat.
-
An Instant-Read Meat Thermometer: This is the single most important tool in your kitchen. Guessing by eye or poking the meat with a fork lets the precious juices escape.
-
A Small Pastry Brush: Perfect for applying a light layer of oil to the grill grates or brushing melted butter onto your buns.
Step-by-Step Instructions
1. Keep the Meat Ice Cold
Keep your ground beef in the refrigerator until the exact moment you are ready to shape the patties. When beef fat gets warm, it becomes soft and begins to melt. If the fat melts before the burger hits the grill, it will leak out completely during cooking, leaving you with a dry, crumbly texture.
2. Shape the Patties with a Gentle Hand
Divide your 80/20 beef into equal portions, roughly one-third of a pound each. Gently shape the meat into round discs about three-quarters of a inch thick.
Critical Step: Do not overwork or over-knead the meat. The more you squeeze and mash the beef, the tighter the proteins pack together, resulting in a tough, dense burger. Treat the meat gently.
3. The Dimple Trick
Once your patties are formed, use your thumb or the back of a spoon to press a shallow indentation right into the center of each patty. As a burger cooks on the grill, the muscle fibers tighten and pull inward, causing the edges to shrink and the center to balloon upward. The dimple counteracts this physical reaction, ensuring your burger cooks perfectly flat and even.
4. Season Generously Right Before Cooking
Mix your kosher salt, freshly cracked black pepper, and garlic powder in a small bowl. Generously season both sides of the patties immediately before putting them on the grill. If you salt the meat too far in advance, the salt dissolves and draws out moisture, breaking down the proteins and turning your juicy grilled burgers into something resembling a sausage patty.
5. Prepare the Grill Surface
Clean your grates thoroughly with a wire brush once the grill is hot. Dip a folded paper towel in a little bit of high-smoke-point oil (like canola or vegetable oil), hold it with your tongs, and rub it quickly across the hot grates. This creates a non-stick surface so you do not tear the beautifully seared crust when it comes time to flip.
6. Grill with Two-Zone Heat
Set up your grill with a hot side for direct searing and a cooler side for gentle, indirect cooking. Place the patties directly over the hot coals or active gas burners. Leave them alone for roughly 4 to 5 minutes. You will know they are ready to flip when the edges start to turn opaque and brown, and tiny beads of clear juice begin to pool on the raw top surface.
7. The Flip and the Cheese
Slide your thin metal spatula cleanly underneath the patty and flip it in one smooth motion.
Never Press Down: Whatever you do, do not press down on the burger with your spatula. That satisfying sizzling sound you hear when you press a burger is actually the sound of precious moisture leaving the meat and burning up on the coals.
Once flipped, move the burgers to the cooler side of the grill if the exterior is browning too fast. Immediately place a slice of cheese on top, then close the grill lid for 2 to 3 minutes to let the cheese melt smoothly into a glossy layer.
8. Use a Thermometer for Precision
Insert your instant-read thermometer horizontally into the thickest part of the patty.
-
Medium-Rare: 135°F
-
Medium: 145°F
-
Well-Done: 160°F (The USDA recommended safety standard)
Remove the burgers from the heat when they are about 5 degrees below your target temperature, as they will continue to cook slightly while resting.
9. Toast the Buns and Rest the Meat
While the meat rests on a warm plate for 5 minutes, toss your buttered buns onto the grill grates for about 30 seconds until they are golden brown. Resting the beef allows the internal juices to redistribute evenly throughout the patty rather than spilling out onto your plate on the very first bite.
Expert Tips for the Perfect Sear
-
Embrace the Charcoal: If you use charcoal, throw a small chunk of hickory or applewood directly onto the coals right before the meat goes on to add an incredible layer of deep wood smoke.
-
Avoid the Flare-Ups: If dripping fat causes a sudden flare-up of flames, do not panic. Simply move the patties to the cooler, indirect side of the grill for a moment until the fire dies down.
-
Melt the Cheese Perfectly: If your cheese is struggling to melt, squirt a tiny splash of water onto the grill grates right next to the burgers (not directly on them) and close the lid immediately. The sudden burst of steam will melt the cheese in seconds.
Common Mistakes to Avoid
-
Mixing Seasonings Inside the Meat: Keep your onions, eggs, breadcrumbs, and liquid seasonings out of the raw beef. Save those ingredients for meatloaf. A classic backyard burger shines when the seasoning stays entirely on the outside crust.
-
Flipping Multiple Times: A burger should ideally be flipped only once. Constantly turning the meat back and forth interrupts the searing process and causes the burger to lose its structural integrity.
-
Serving Immediately: Cutting into a burger directly off the flames guarantees a dry meal. Give it those crucial five minutes to rest.
Storage Guidelines
If you happen to have leftover grilled burgers, allow them to cool down to room temperature completely. Wrap each patty tightly in heavy-duty aluminum foil or place them together in an airtight glass container. They will keep perfectly fine in the refrigerator for up to 3 to 4 days.
Reheating Instructions
Reheating a burger without drying it out can be tricky, but it is entirely possible if you avoid the microwave.
-
Pre-heat your kitchen oven or toaster oven to 300°F.
-
Place the leftover patties on a wire rack set inside a baking sheet.
-
Add a single teaspoon of water or beef broth to the top of each patty to add a burst of moisture.
-
Cover the entire baking sheet loosely with foil and heat for roughly 8 to 10 minutes until the center is warm.
Estimated Nutrition Information
Per single patty (excluding bun and toppings):
| Nutrient | Amount |
| Calories | 290 |
| Total Fat | 20g |
| Saturated Fat | 8g |
| Cholesterol | 90mg |
| Sodium | 380mg |
| Carbohydrates | 0g |
| Protein | 25g |
Leave a Reply