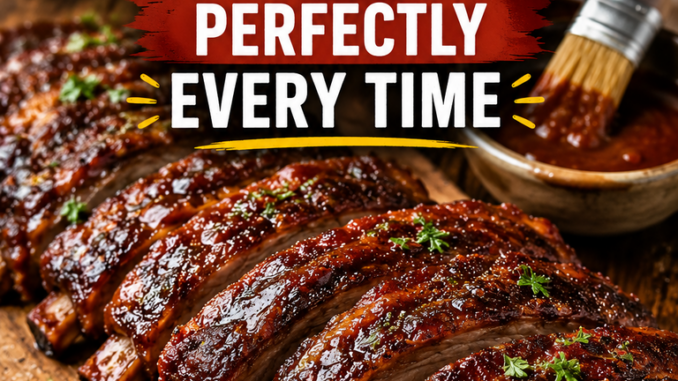
How to Grill Baby Back Ribs Perfectly Every Time
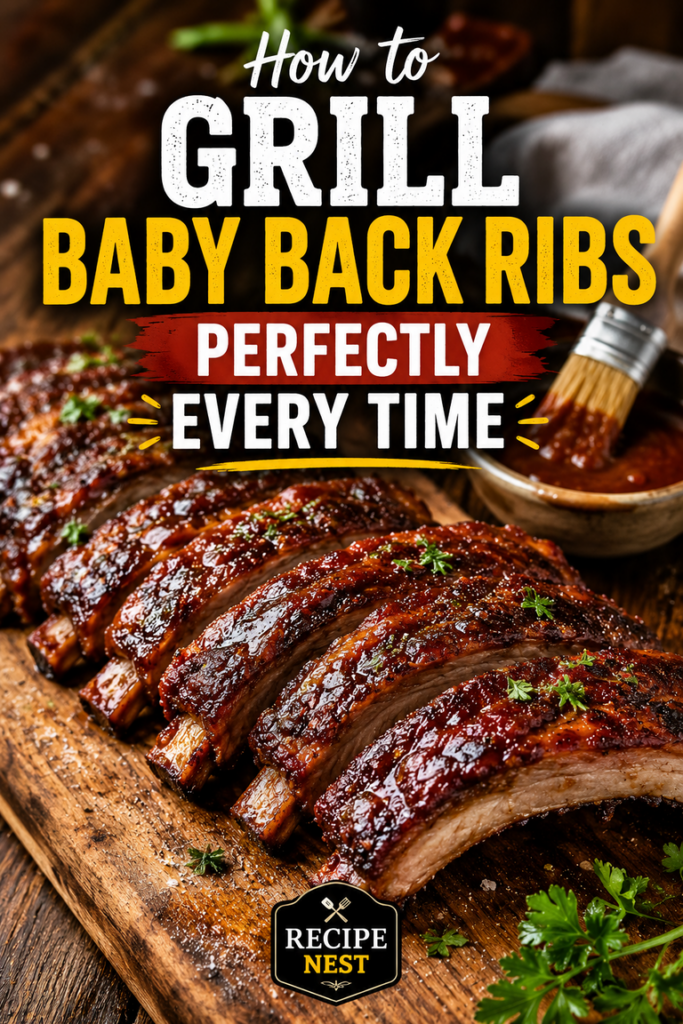
Baby back ribs have a way of making any backyard cookout feel like an event. The smell of slow-cooking pork drifting across the yard, the sound of the grill humming along, and that first bite of tender, smoky meat are hard to beat. I’ve grilled plenty of racks over the years, and I’ve learned that perfect ribs aren’t about fancy tricks—they’re about patience, steady heat, and knowing when to leave them alone.
If you’ve ever ended up with ribs that were dry, chewy, or falling apart before they even reached the table, don’t worry. A few small adjustments can make a huge difference. Once you understand the basics, you’ll be serving baby back ribs that people talk about long after dinner is over.
Why You’ll Love This Recipe
- Tender, juicy baby back ribs with a flavorful bark.
- Easy enough for beginners but satisfying for experienced grillers.
- Uses simple pantry spices you probably already have.
- Works on charcoal grills, gas grills, pellet grills, or smokers.
- Perfect for summer cookouts, family dinners, and game-day gatherings.
- The leftovers are just as delicious in sandwiches, tacos, or wraps.
One thing I appreciate about baby back ribs is that they cook a little quicker than spare ribs while still delivering incredible flavor. They’re meaty without being overly fatty, making them a favorite whenever I’m cooking for a crowd.
Ingredients
For the Ribs
- 2 racks baby back ribs (about 2½–3 pounds each)
Binder (Optional)
- 2 tablespoons yellow mustard
Dry Rub
- ¼ cup brown sugar
- 2 tablespoons paprika
- 1 tablespoon kosher salt
- 1 tablespoon coarse black pepper
- 2 teaspoons garlic powder
- 2 teaspoons onion powder
- 1 teaspoon chili powder
- 1 teaspoon smoked paprika
- ½ teaspoon cayenne pepper (optional)
During Cooking
- Apple juice
- Apple cider vinegar
- Melted butter
For Finishing
- Your favorite barbecue sauce (optional)
Ingredient Substitutions
Great ribs don’t depend on one specific brand of seasoning.
If you’re missing an ingredient, here’s what works well:
- Honey can replace brown sugar for a slightly different sweetness.
- Regular paprika works if you don’t have smoked paprika.
- Fine sea salt can substitute for kosher salt—just use a little less.
- Apple juice and pineapple juice both work well for spritzing.
- Unsalted butter can be replaced with beef tallow if you prefer a richer finish.
If you enjoy a peppery bark, increase the black pepper slightly. If you’re cooking for kids, reduce or skip the cayenne.
Equipment Needed
You don’t need a competition barbecue setup to make outstanding ribs.
Here’s what I use most often:
- Charcoal grill, gas grill, pellet grill, or smoker
- Instant-read thermometer
- Heavy-duty aluminum foil or butcher paper
- Spray bottle for spritzing
- Long barbecue tongs
- Basting brush
- Sharp slicing knife
- Large cutting board
A thermometer is one tool I never skip. While ribs aren’t cooked exactly like brisket, checking temperature helps confirm you’re in the right range without relying only on cooking time.
Preparing the Baby Back Ribs
Remove the Membrane
Turn the ribs over so the bone side faces up.
You’ll notice a thin, shiny membrane covering the bones.
Slide a butter knife underneath one corner, grab the membrane with a paper towel, and slowly pull it away.
It usually comes off in one piece.
Skipping this step won’t ruin the ribs, but removing it allows the seasoning and smoke to penetrate better. It also makes the ribs much easier to eat.
Trim Excess Fat
Baby back ribs don’t usually need much trimming.
Simply remove any loose pieces of fat or meat that may burn during cooking.
Leave the rest alone.
The small amount of fat left behind helps keep the meat moist.
Apply the Binder
Brush a thin layer of yellow mustard over both sides of the ribs.
Don’t worry—the ribs won’t taste like mustard.
Its main job is helping the dry rub stick evenly.
If you don’t like using mustard, a light coating of olive oil works just as well.
Season Generously
Cover both sides with the dry rub.
Press it gently into the meat instead of rubbing it aggressively.
I’ve found that pressing keeps more seasoning in place when moving the ribs to the grill.
Once seasoned, let the ribs sit for about 20 to 30 minutes while you prepare the grill.
That short rest gives the spices time to absorb a little moisture and cling better to the surface.
Step-by-Step Instructions
Step 1: Preheat the Grill
Set your grill for indirect cooking at 250°F.
This steady temperature gives the connective tissue enough time to break down without drying out the meat.
If you’re using charcoal, arrange the coals on one side of the grill.
If you’re using gas, light only one or two burners and leave the others off.
For pellet grills, simply set the temperature to 250°F.
Step 2: Choose Your Wood
Wood choice makes a noticeable difference.
Some of my favorites include:
- Apple wood for a mild, slightly sweet smoke
- Cherry wood for beautiful color
- Hickory for a stronger barbecue flavor
- Oak for balanced, clean smoke
- Pecan for a slightly nutty finish
If you’re just starting out, apple or oak is hard to beat.
They’re forgiving and won’t overpower the pork.
Step 3: Place the Ribs on the Grill
Lay the ribs bone-side down over indirect heat.
Close the lid and resist the urge to check every few minutes.
Every time you lift the lid, heat escapes and the cooking time gets a little longer.
A good grill does most of the work for you.
Step 4: Spritz During the Cook
After about 90 minutes, lightly spritz the ribs every 30 to 45 minutes.
A mixture of equal parts apple juice and apple cider vinegar works especially well.
You’re not trying to soak the ribs.
A light mist keeps the surface from drying out while helping the bark develop gradually.
Too much liquid can wash away your seasoning, so use a gentle hand.
Step 5: Wrap the Ribs
After roughly three hours, the ribs should have developed a rich mahogany color.
This is usually the point where I wrap them.
Place each rack on a sheet of heavy-duty foil.
Add:
- 2 tablespoons butter
- A drizzle of honey
- A small splash of apple juice
Wrap the ribs tightly and return them to the grill.
The trapped steam helps tenderize the meat while keeping it juicy.
Some pitmasters prefer butcher paper instead of foil because it preserves a slightly firmer bark. I’ve used both with good results, so it really comes down to the texture you prefer.
Step 6: Continue Cooking Until Tender
Cook the wrapped ribs for another 1½ to 2 hours.
Instead of watching the clock, start checking how the ribs feel.
Pick up one end with your tongs.
If the rack bends easily and small cracks begin to appear on the surface, you’re getting close.
Another good sign is when a toothpick slides between the bones with very little resistance.
That’s usually the point where I know the ribs are ready for the final step.
Step 7: Add the Barbecue Sauce (Optional)
Some barbecue lovers swear by dry ribs, while others won’t serve a rack without a sticky glaze. Honestly, both are delicious, so it comes down to what you enjoy.
If you’re using barbecue sauce, wait until the ribs are almost finished cooking.
Brush on a thin, even layer during the last 15 to 20 minutes over indirect heat. This gives the sauce just enough time to set without burning.
I’ve made the mistake of saucing ribs too early, and the sugar in the sauce turned dark long before the meat was ready. Adding it at the end keeps the glaze shiny, slightly caramelized, and full of flavor.
If you’re serving a crowd, consider leaving one rack unsauced and offering barbecue sauce on the side. You’ll make everyone happy.
How to Know Your Baby Back Ribs Are Done
One of the biggest misconceptions about ribs is that they should “fall off the bone.”
In reality, competition-style ribs aren’t supposed to do that.
Perfectly cooked baby back ribs should hold together when you pick them up but come away from the bone with a gentle bite. The meat should be juicy, tender, and cleanly release from the bone without feeling mushy.
Here are a few signs your ribs are ready:
- The meat has pulled back about ¼ to ½ inch from the ends of the bones.
- A toothpick slides easily between the bones.
- The rack bends when lifted with tongs, and the surface begins to crack slightly.
- The internal temperature is generally between 198°F and 203°F.
I always trust tenderness more than numbers. Every rack cooks a little differently, so use temperature as a guide, not the final decision.
Let the Ribs Rest
As tempting as it is to slice into them right away, give the ribs about 10 to 15 minutes to rest.
That short wait allows the juices to settle back into the meat instead of running onto the cutting board.
It’s a simple step, but you’ll notice the difference in every bite.
How to Slice and Serve
Flip the ribs bone-side up so you can clearly see where each bone runs.
Using a sharp knife, slice cleanly between the bones.
Serve immediately with your favorite barbecue sides.
Some of my go-to pairings include:
- Creamy coleslaw
- Southern potato salad
- Smoked baked beans
- Grilled corn on the cob
- Macaroni and cheese
- Garlic bread
- Pickles and sliced onions
A squeeze of fresh lemon isn’t traditional, but it adds a nice brightness if you’ve used a sweeter barbecue sauce.
Expert Tips
I’ve learned a few lessons after cooking more racks of ribs than I can count. These are the habits that consistently produce great results.
Keep the Temperature Steady
A grill that swings between 200°F and 325°F makes it much harder to cook evenly.
Aim for a steady 250°F whenever possible.
Small adjustments are better than constantly opening vents or lifting the lid.
Give the Smoke Time to Work
The first few hours are when the ribs absorb most of their smoke flavor.
Use clean, thin blue smoke instead of thick white smoke.
If the smoke smells harsh, the ribs will taste harsh too.
Don’t Overdo the Spritzing
A light mist every 30 to 45 minutes is enough.
Too much liquid cools the meat and can wash away the seasoning you’ve worked so hard to build.
Taste Your Dry Rub Before Using It
This might sound obvious, but it’s something many people skip.
Mix your seasoning, then taste a tiny pinch.
If it’s too salty or too spicy by itself, it probably needs adjusting before it goes on the ribs.
Rest Before Serving
Patience pays off.
Those extra few minutes of resting help keep every slice juicy instead of leaving the juices on the cutting board.
Common Mistakes to Avoid
Leaving the Membrane On
Removing it takes only a minute or two, and it’s worth the effort.
The ribs become more tender, and the seasoning reaches the meat more effectively.
Cooking Over Direct Heat
Baby back ribs need low, indirect heat.
Direct flames may char the outside long before the inside becomes tender.
Using Too Much Smoke
More smoke doesn’t always mean better barbecue.
Too much wood can create a bitter flavor that masks the natural sweetness of the pork.
Rushing the Cook
You can’t hurry great ribs.
Cooking at a higher temperature may save an hour, but it usually costs you tenderness.
Cutting Immediately
Give the meat a few minutes to rest.
The wait feels long when everyone is hungry, but it’s one of the easiest ways to improve the final result.
Storage
Allow leftover ribs to cool before storing them.
Place them in an airtight container or wrap them tightly in aluminum foil.
They’ll keep well in the refrigerator for up to 4 days.
For longer storage, freeze the ribs for up to 3 months.
If freezing, wrap each rack tightly in plastic wrap before adding a layer of foil to help prevent freezer burn.
Reheating
The oven is still my favorite way to reheat ribs because it keeps them tender.
- Preheat the oven to 275°F.
- Place the ribs in a baking dish.
- Add a few tablespoons of apple juice or chicken broth.
- Cover tightly with foil.
- Heat for about 20 to 30 minutes.
If you’ve frozen the ribs, thaw them overnight in the refrigerator before reheating.
Avoid using high heat, which can dry out the meat surprisingly fast.
Estimated Nutrition Information
Per serving (approximately ¼ rack):
- Calories: 510
- Protein: 34g
- Fat: 36g
- Saturated Fat: 12g
- Carbohydrates: 12g
- Sugar: 9g
- Fiber: 1g
- Sodium: 690mg
Nutrition values are estimates and will vary depending on the seasoning, barbecue sauce, and exact size of the ribs.
Leave a Reply