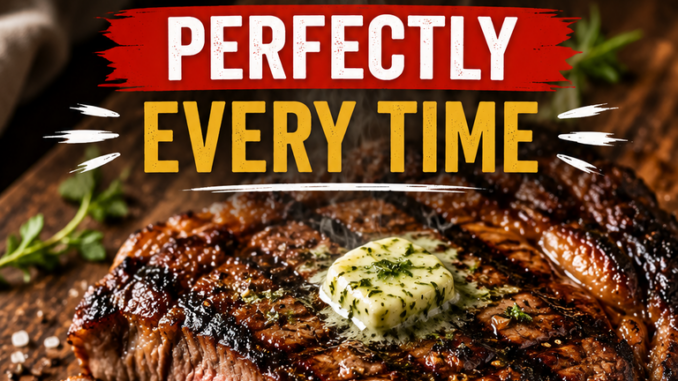
The Only Way to Make a Perfectly Juicy Grilled Ribeye Steak Every Single Time
There is nothing quite like the deep, rhythmic sizzle of a thick-cut, well-marbled piece of beef hitting a white-hot grill grate. When you learn how to master a great grilled ribeye steak, you instantly become the undisputed hero of the weekend backyard cookout. It is a skill that seems intimidating if you have ever accidentally turned a premium cut of meat into leather, but achieving steakhouse results at home is entirely doable once you look past a few old-school myths.
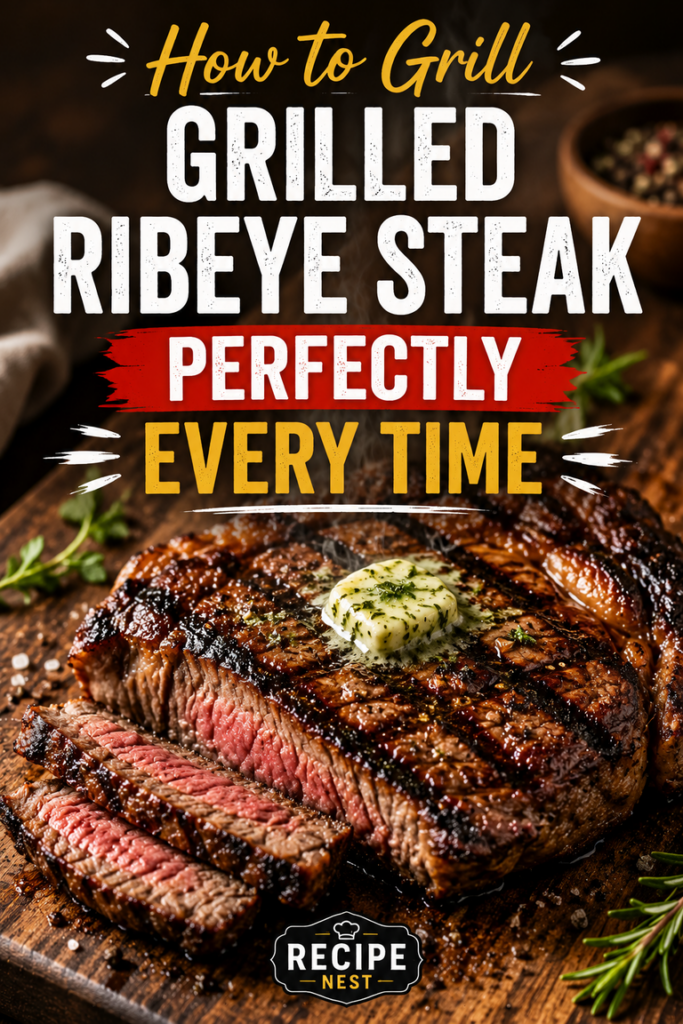
I have spent more than a decade tweaking my backyard routine, burning through plenty of charcoal and ruining a few expensive cuts along the way so you do not have to. We want a deeply caramelized, salty, dark crust on the outside while keeping the interior incredibly tender and dripping with rich, beefy juices. Grab a cold drink, fire up your grill, and let us break down the exact process that delivers an incredible steak every single time.
Why You Will Want to Save This Method
A ribeye is widely considered the king of the grill for a reason. Unlike leaner cuts like filet mignon, a ribeye contains a beautiful network of intramuscular fat—often called marbling—along with a rich outer cap of fat. As the meat cooks, that fat melts from the inside out, naturally basting the steak and keeping it incredibly tender even under intense heat.
This specific method relies on a two-zone cooking system, which gives you absolute control over the temperature. Instead of just throwing the meat over a massive fire and praying the middle cooks before the outside burns to a crisp, this approach guarantees an even, edge-to-edge pink interior. It takes the guesswork out of grilling, meaning you can confidently host friends and family without hovering over the grates in a state of sheer panic. Make sure to pin or bookmark this guide so you can pull it up next time you visit the local butcher counter.
The Simple Ingredients You Need
You do not need a massive list of fancy marinades or complex spice rubs to make a stellar grilled ribeye steak. In fact, heavy sauces usually mask the spectacular natural flavor of the beef. Keep it simple and let the quality of the meat shine.
-
Ribeye Steaks: Look for steaks that are at least 1.5 to 2 inches thick. Thin steaks cook through way too fast in the middle before you can build a decent crust on the outside. Look for lots of little white flecks of fat distributed throughout the meat, rather than just one big chunk of fat on the edge.
-
Coarse Kosher Salt: Kosher salt has larger grains than standard table salt, making it much harder to accidentally over-salt your meat. It draws out moisture, dissolves, and reabsorbs into the meat to season it deeply.
-
Coarse Ground Black Pepper: Big, cracked flakes of black pepper stand up beautifully to the intense heat of the grill and create a wonderful, textured crust.
-
Garlic Powder (Optional): A light dusting adds a subtle, savory background note that complements the beef without overpowering it.
-
Unsalted Butter or Compound Butter: Dropping a small pat of real butter onto the steak right as it comes off the grill adds a rich, glossy finish that makes every single bite taste luxurious.
Smart Ingredient Substitutions
If you cannot find the exact items listed above, you can easily adapt with what you have on hand without ruining dinner.
-
Sea Salt: If you do not have coarse kosher salt, coarse sea salt works beautifully. Avoid fine iodized table salt if you can; its tiny crystals pack tightly together, making it incredibly easy to make your steak unpalatable.
-
Different Cuts: While this guide focuses on the ribeye, you can apply the exact same two-zone cooking logic to a thick-cut New York strip or a T-bone steak.
-
Herb Accents: Instead of plain butter, mix some softened unsalted butter with finely chopped fresh rosemary, thyme, and a tiny squeeze of lemon juice. Keep a log of this in your freezer to slice off whenever you fire up the grill.
The Essential Tools for the Job
Having the right gear makes the entire process stress-free. You do not need expensive gadgets, just a few reliable kitchen workhorses.
-
A Charcoal or Gas Grill: Either works perfectly. Charcoal gives you that classic, smoky backyard flavor, while gas offers unmatched temperature convenience.
-
An Instant-Read Digital Thermometer: This tool is completely non-negotiable. Forget the old trick of poking the steak and comparing it to the palm of your hand. A digital thermometer is the only way to know exactly when your meat is cooked to your liking.
-
Long Heavy-Duty Tongs: You need a sturdy grip to flip thick cuts of meat safely without puncturing the surface and letting the juices escape.
-
A Wire Rimmed Baking Sheet: This is essential for the dry-brining phase in the refrigerator, allowing air to circulate completely around the meat.
Step-by-Step Instructions for the Perfect Grill Session
1. The Power of the Dry Brine
The absolute best thing you can do for your grilled ribeye steak happens the day before you cook it. Place your thick-cut steaks on a wire rack set inside a baking sheet. Season them generously on all sides with your coarse kosher salt. Put the entire tray into the refrigerator uncovered for at least 12 hours, or up to 24 hours.
During this time, the salt draws out the surface moisture, dissolves into a brine, and penetrates deep into the muscle fibers, seasoning the steak from within. Meanwhile, the cold refrigerator air dries out the surface of the meat, leaving it looking dark and slightly tacky. That dry surface is exactly what you want; it means you will get a spectacular, crisp sear the moment the beef hits the hot metal grates.
2. Set Up a Two-Zone Grill
If you are using a charcoal grill, light a chimney full of briquettes or lump charcoal. Once they are covered in gray ash, dump them entirely onto one side of the grill, leaving the other side completely empty. If you are using a gas grill, turn the burners on one side to high heat and leave the other burners completely off.
Put the lid on and let the grates heat up for at least 15 minutes. Scrub the grates clean with a good brush. This layout gives you a direct heat zone for searing and an indirect heat zone for gently bringing the steak up to its final temperature.
3. Season Before Sealing
Take your steaks out of the refrigerator right before you head outside. Because you already salted them, you will notice the surface is beautifully dry. Now is the time to apply your coarse black pepper and a touch of garlic powder. Press the spices firmly into the meat so they stick. Do not add oil to the steak; a dry steak sears better, and excess oil will just drop onto the fire and create massive, bitter-tasting soot flares.
4. The Direct Heat Sear
Place your steaks directly over the hottest part of the fire. You should immediately hear a loud, aggressive sizzle. Leave them alone for about 2 minutes to let the crust form. If you notice a sudden flame flare up because a bit of fat rendered off, use your tongs to slide the steak slightly out of the flame.
Flip the steak over and sear the other side for another 2 minutes. You are looking for a deep, rich brown color across the surface, not a charred black mess.
5. Move to Indirect Heat
Once both sides have a gorgeous crust, move the steaks away from the fire over to the cool, indirect side of the grill. Insert your digital thermometer probe right into the thickest part of the meat, making sure it does not hit a pocket of pure fat or touch the bone if you are using bone-in cuts.
Close the grill lid with the vents partially open to keep the ambient temperature around 300°F to 350°F. Let the steaks finish cooking gently. This slower phase allows the internal fat to melt completely without drying out the edges.
6. Pull and Rest
Pull the steaks off the grill when the internal temperature reads exactly 5 degrees below your final target doneness. The meat will continue to cook slightly from residual heat while it rests.
-
Rare: Pull at 120°F (Target: 125°F)
-
Medium-Rare: Pull at 130°F (Target: 135°F)
-
Medium: Pull at 140°F (Target: 145°F)
Transfer the steaks to a clean cutting board or a warm platter. Immediately drop a pat of unsalted butter on top of each steak. Let them rest undisturbed for a full 8 to 10 minutes. Resting allows the tight muscle fibers to relax and reabsorb all the delicious juices. If you cut into it too soon, all that liquid will run out onto the board, leaving you with a dry dinner.
Expert Grilling Tips
-
Skip the Room Temperature Myth: You often hear advice telling you to let steaks sit on the counter for an hour before grilling. In reality, a thick steak barely warms up in that time, and a cold steak actually gives you a safety buffer, allowing you to get a deeper exterior sear without overcooking the center.
-
Watch the Airflow: When cooking on charcoal, use the lid vents to control the heat. Opening the vents lets more oxygen in, making the fire hotter. Closing them down cools things off.
-
Slice Against the Grain: When you are ready to carve, look closely at the direction the muscle fibers run. Slice perpendicular to those lines to ensure every piece is incredibly easy to chew.
Common Mistakes to Avoid
-
Buying Thin Cut Steaks: A thin ribeye will cook all the way through to well-done in the time it takes to get a decent color on the outside. Always buy thick. If you want a smaller portion, buy one massive steak and split it after carving.
-
Trusting the Clock: Never cook a steak based purely on a timer. Every grill runs at a slightly different temperature, and ambient outdoor weather changes how fast meat cooks. Use your digital thermometer every single time.
-
Flipping Constantly: Let the steak sit still over the direct heat so it can build up a continuous crust. Moving it around too much prevents that beautiful caramelization from forming properly.
Storing Your Leftovers
If you happen to have any leftover steak, let it cool completely before placing it into an airtight container. It will keep beautifully in the refrigerator for up to three days. You can slice the cold leftovers thin to use for spectacular steak sandwiches, crisp breakfast hashes, or a hearty steak salad the next afternoon.
The Best Way to Reheat Steak
Reheating a premium steak without turning it into a rubbery mess requires a gentle touch. Avoid the microwave at all costs. Instead, place the steak on a wire rack inside a baking sheet and put it into a low oven set at 250°F.
Let it warm slowly for about 15 to 20 minutes until the center feels warm. If you want to restore that crisp exterior texture, flash it in a hot skillet with a tiny splash of oil for 30 seconds on each side right before serving.
Estimated Nutrition Information
-
Serving Size: 4 ounces of cooked beef
-
Calories: ~310
-
Total Fat: 22g
-
Saturated Fat: 9g
-
Cholesterol: 90mg
-
Sodium: ~65mg (varies based on brining preference)
-
Protein: 28g
-
Carbohydrates: 0g
Note: The values provided are estimates based on standard nutritional databases for trimmed ribeye beef and will vary depending on the exact marbling of your specific cut and your final choice of butter toppings.
Leave a Reply